Mastering Your Privacy: How to Setup VPN on Mac
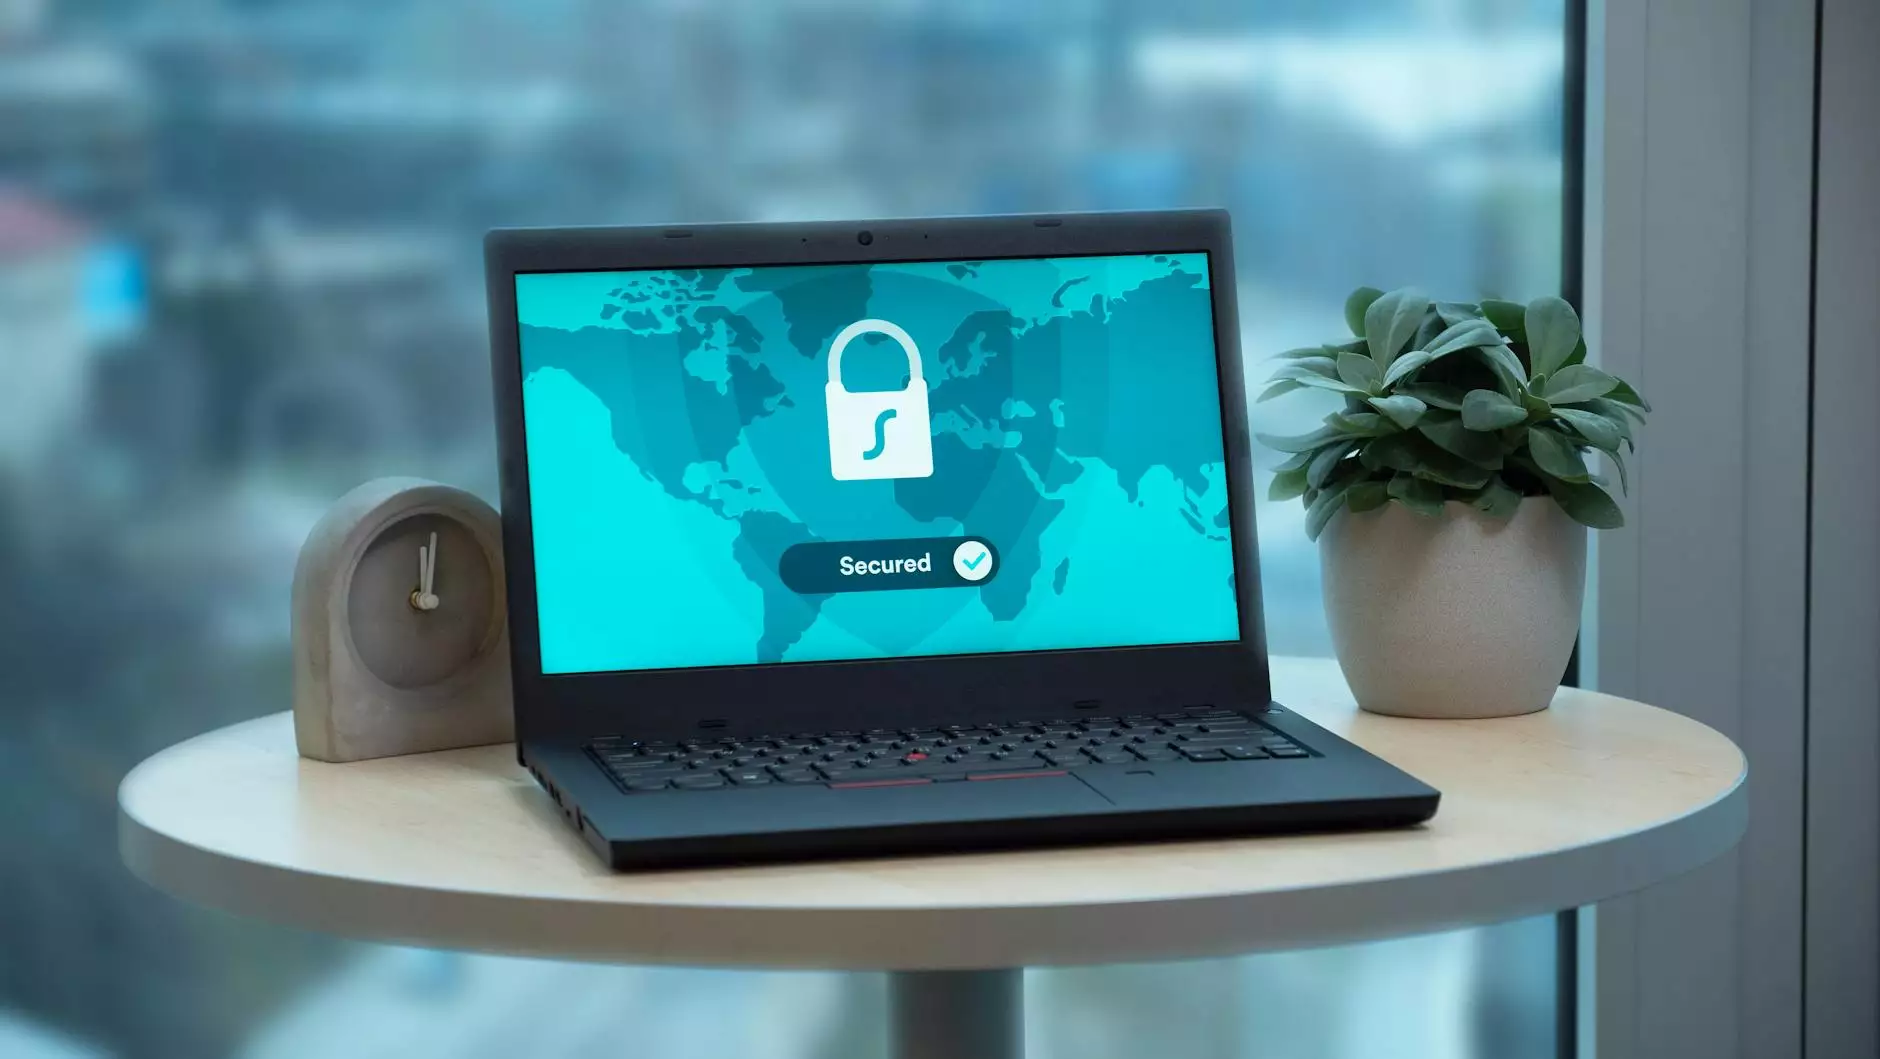
In today’s interconnected world, maintaining your online security and privacy has become more crucial than ever. With the increasing threats to personal information and digital identities, utilizing a VPN (Virtual Private Network) is no longer just an option but a necessary tool. This article will guide you through the essential steps to setup VPN on Mac, ensuring you enjoy safer browsing, unhindered access to content, and enhanced privacy.
Why You Need a VPN on Your Mac
Before diving into the setup instructions, it’s essential to understand the benefits of using a VPN. Here are some compelling reasons to consider:
- Enhanced Security: A VPN encrypts your internet traffic, protecting your data from hackers and malicious attacks.
- Online Privacy: By masking your IP address, a VPN allows you to browse the internet anonymously.
- Access to Restricted Content: Enjoy seamless access to geo-restricted content such as streaming services from anywhere in the world.
- Safe Public Wi-Fi Usage: A VPN secures your connection on public Wi-Fi networks, reducing the risk of data theft.
- Prevent ISP Throttling: Is your Internet Service Provider restricting your bandwidth? A VPN can help combat this issue.
Choosing the Right VPN for Mac
Selecting a trustworthy VPN provider is crucial for reaping the benefits mentioned above. Here are some factors to consider:
- Reputation: Look for a VPN service with positive reviews and a proven track record.
- Server Locations: A wide selection of servers enables better access to various geographic content.
- Speed and Performance: Testing the VPN’s speed is vital to ensure a seamless browsing experience.
- Compatibility: Ensure the VPN software is fully compatible with your Mac operating system.
- Customer Support: Excellent customer service can be invaluable for troubleshooting.
Step-by-Step Guide to Setup VPN on Mac
Now that you understand the importance of a VPN and what to look for when choosing one, let’s go through the steps required to setup VPN on Mac.
Step 1: Subscribe to a VPN service
The first step in setting up your VPN is to purchase a subscription from a reliable VPN provider. For this guide, we will be using ZoogVPN, known for its excellent services in telecommunications and internet service provision.
Step 2: Download the VPN Application
After subscribing, download the ZoogVPN application for Mac from the official website. The site’s user-friendly interface simplifies the download process. Ensure you choose the correct version for your Mac OS.
Step 3: Install the VPN Application
Once the download is complete, follow these steps to install the application:
- Locate the downloaded file, typically in your Downloads folder.
- Double-click the file to launch installation.
- Follow the on-screen instructions to complete the installation process.
Step 4: Launch the Application
After installation, open the ZoogVPN application. You will be prompted to log in using your credentials. Enter your email address and password that you used during the subscription process.
Step 5: Configure Your Settings
Before connecting, you might want to adjust the settings according to your preferences. Here are a few configurations you might consider:
- VPN Protocols: Choose between protocols such as IKEv2, OpenVPN, or PPTP. IKEv2 is often recommended for its balance of speed and security.
- Auto-Connect: Enable the auto-connect feature to have your VPN active every time you start your Mac.
- Kill Switch: Activate this feature to ensure that your internet connection is cut off if the VPN disconnects unexpectedly.
Step 6: Connect to a VPN Server
Now that you have configured your settings, it’s time to connect. Choose a server from the list provided by ZoogVPN. You can either select a server based on location or one optimized for specific activities like streaming or torrenting.
Step 7: Confirm Your Connection
Once you connect, you should see a notification confirming that your VPN is active. You can verify your new IP address by visiting websites like What Is My IP. This will ensure that your true IP address has been masked.
Troubleshooting Common Issues
During the setup process, you might encounter some common issues. Here’s how to address them:
- Connection Fails: Check your internet connection first. Restart your router if necessary, and ensure that your VPN app is updated.
- Slow Speeds: Switch to a different server. Some servers can be congested, causing slow speeds.
- No Internet Access: Ensure that the “Kill Switch” feature is not blocking access. Adjust settings or temporarily disable it.
Maximizing Your VPN Experience
To enhance your VPN experience on Mac, consider implementing the following tips:
- Regularly Update Your VPN App: Keep the application updated for the latest features and security improvements.
- Use Split Tunneling: This feature allows you to choose which apps use the VPN, optimizing your overall internet speed.
- Clear Cache Regularly: Regularly clearing your browser’s cache can improve performance and privacy.
Conclusion
Setting up a VPN on your Mac is not just about enhancing your internet security; it’s about reclaiming your online privacy and freedom. By following the steps outlined in this guide, you can efficiently setup VPN on Mac and enjoy a safer, unrestricted browsing experience.
Visit ZoogVPN to explore their services and take the first step towards securing your online presence today.